Frequently Asked Questions
Beneco accepts print-ready files in any of the following formats:

Adobe Illustrator Format

Adobe PDF Format
In other words, Beneco accepts print-ready files saved from the following design software programs: Adobe Photoshop® CS, Adobe Illustrator® CS, Adobe InDesign® CS
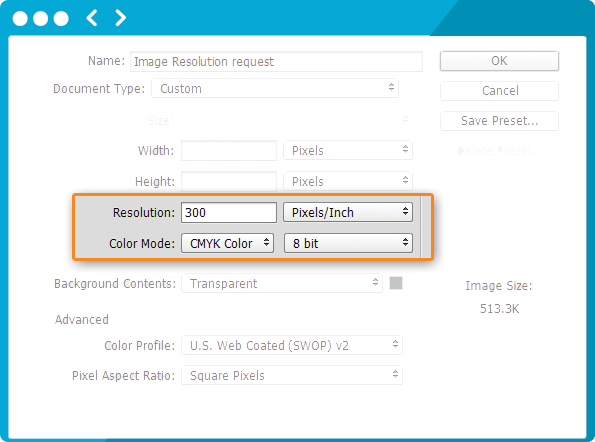
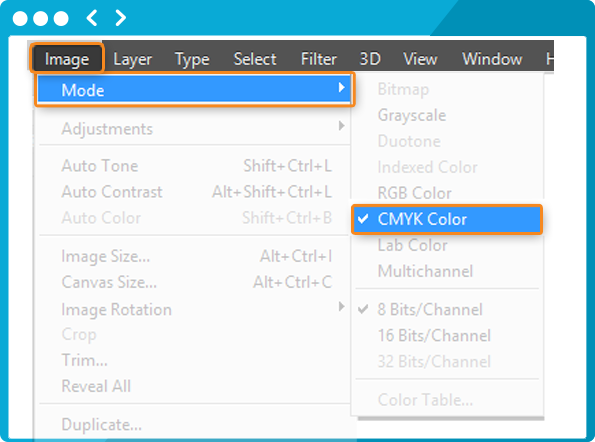
In the ai or pdf file all the images need to high-quality, uncompressed 300 dpi resolution, 8 bit, CMYK color mode.

Yes. If your files are submitted using any other color standard, such as RGB or Pantone, they will be converted to CMYK during preflighting. Conversion from one color standard to another may cause colors to shift. Before submitting your digital artwork files, you may want to review our file preparation guidelines.

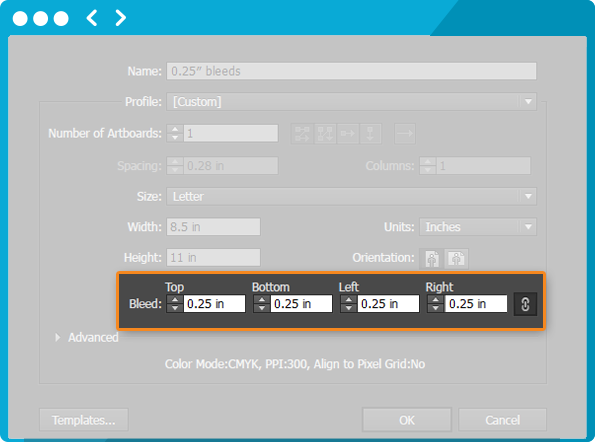
Beneco requires a 0.25″ bleed around the perimeter of your artwork to ensure accurate cutting (e.g., artwork for a 4″x6″ postcard should extend to 4.25″ x 6.25″). If your image has a white border on all four sides, bleeds are recommended but not required. If your image is not white on all four sides, you must include bleeds in print-ready files. Before submitting your artwork files, you may want to review our file preparation guidelines.

Resolution also known as DPI (Dots Per Inch) can be described as the number of dots that fit horizontally and vertically into a one-inch space. Generally, the more dots per inch, the more detail captured and the sharper the resulting image.
For an image to print properly, the image must be at least 300 dots per inch (dpi) at the final output size. If your file is not 300 dpi, you can not simply increase the dpi from a low resolution to a higher one by increasing the DPI in your imaging program.
For most printing jobs, 300 dots per inch (DPI) is the minimum resolution to guarantee acceptable printing results. For larger products such as large format posters and banners, we recommend sharper resolution which can range from 300 to 1200 dpi, depending on the intended use of the printed piece.
It is important that you supply all fonts used in your layout. If you do not supply fonts in your artwork file, we will request that you resubmit your files with fonts included.
If you have vector artwork and your file is missing fonts, you can open your file in Illustrator, select “Create Outlines“, save your fonts, re-save your artwork file, and then upload it.
If you have artwork that is rasterized, you can open your file in Photoshop and select “Flatten the Layers”, re-save your artwork file, and then upload it.
Please do not submit your fonts seperately from your file because it is critical that we receive your print-ready file with fonts included to avoid any printing issues.
All text within your files must be converted to outlines with the outline set to zero to eliminate the need for fonts. Before submitting your artwork files, you may want to review our file preparation guidelines.

Please EMBED all the image in your file.
If your file is missing the images you desire, you should re-save your file properly so that the images will not drop out during printing.
We do not normally accept images by themselves. The only exception is if you engage one of our graphic designers to help you with your project. Otherwise, you must place all images in your artwork and make sure to save your files properly. Please refer to your software program manual for more information on how to save your files properly.
Vector-based software programs such as Illustrator or InDesign have a tendency of image dropping out when transparency effects are being used.
If you are using Photoshop, you should flatten all layers before saving to keep all images and text in place.
Gradients are commonly used in printing and in most instances produce good results. Gradients can be represented in a file as a mathematical equation (Vector) or rendered by the application into a series of pixels (Raster). Before submitting your artwork files, you may want to review our file preparation guidelines.
